Tuesday Tip: Cabinet Ikea Hack
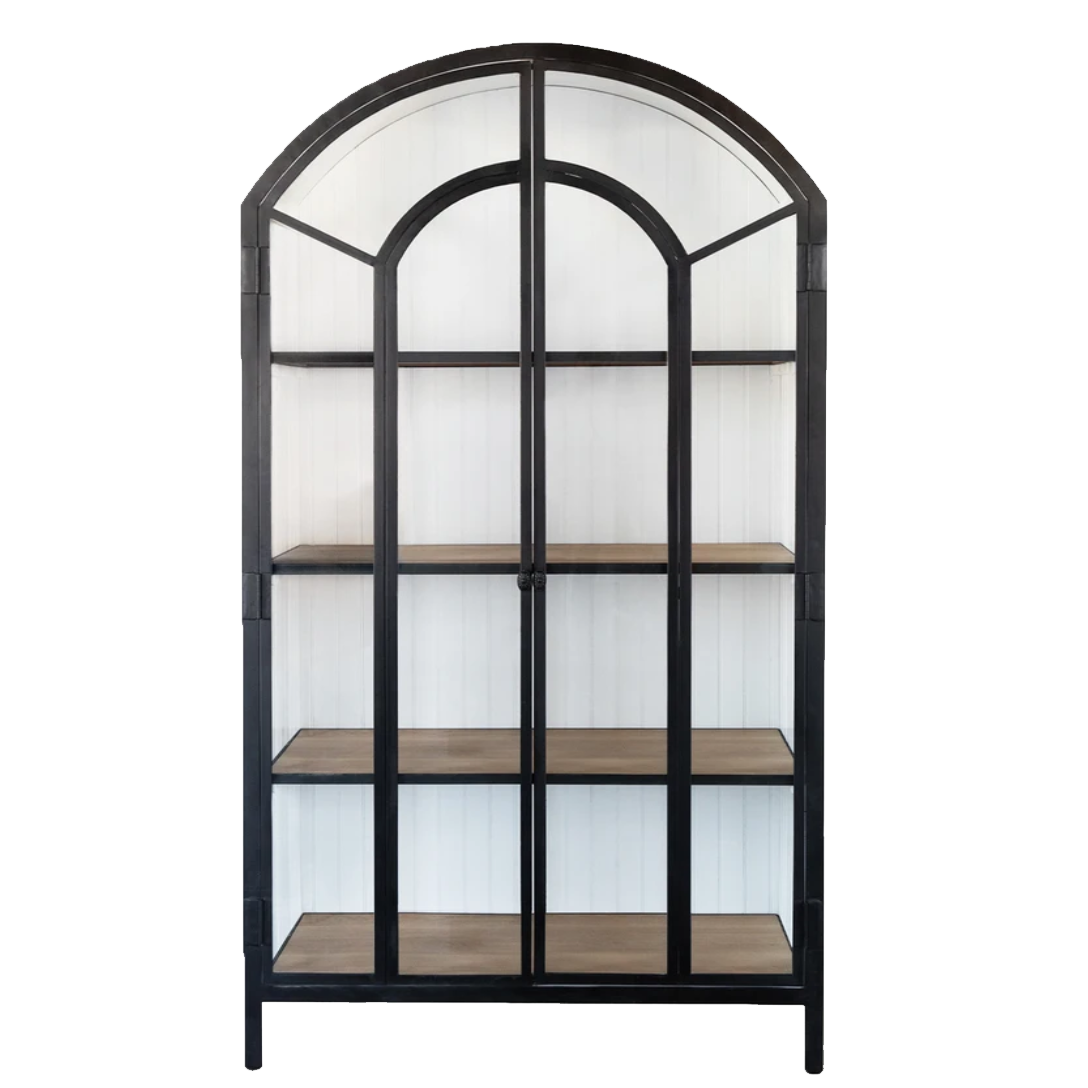
Our first ever Tuesday Tip features an Ikea Hack we finished up a few months ago! We first pulled inspiration for this project from designs we loved that incorporated black cabinets with white interiors. I love how these built-ins were customized to look like an actual piece of furniture, rather than a standard built-in you normally see.

Design by: Studio McGee

Design by: Oakstone Homes
The space in our living room wouldn’t accommodate a custom built-in, so we decided a stand alone piece of furniture would do the trick instead. I’ve had my eyes on these particular cabinets for quite a while now and the black/white combination would look perfect with my existing furniture. I love how the white interior adds a clean backdrop to showcase the decor placed in the cabinet, while the black adds contrast and depth to the space it’s in.

Design by: Light & Dwell

Design by: Studio McGee


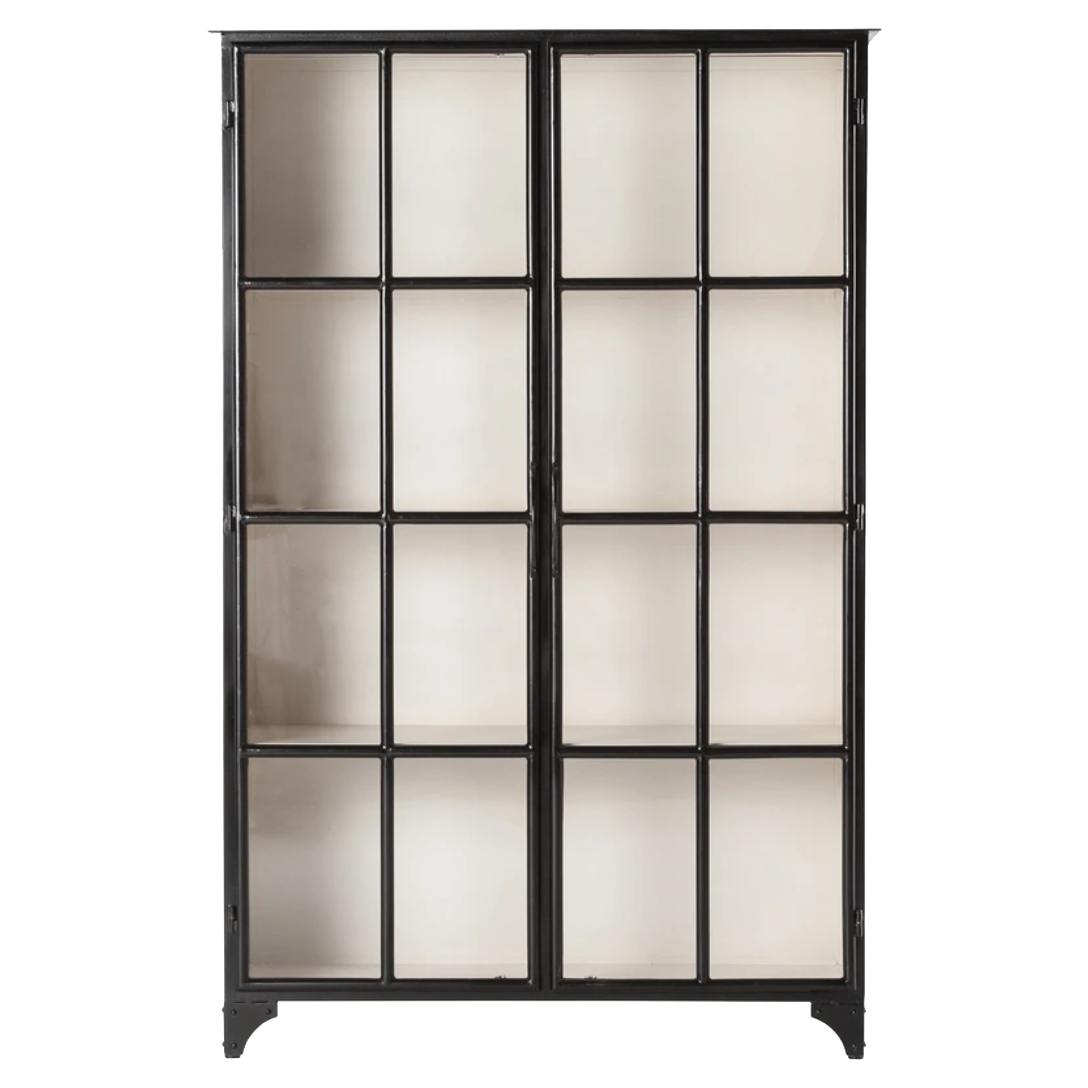
When it came time to get my dream cabinet, I realized two things. First, Our space was limited in size and these cabinets were too large for what we needed. Second, I have champagne taste on a beer budget and this wasn’t the place we wanted to splurge. After scouring furniture sources trying to find something similar with our size and budget in mind, I found a similar cabinet from Ikea that just needed a few tweaks to create something similar! Thanks to my husband for putting in the additional hours and man power I needed to make it happen! Here’s a few simple steps you can take to get the high end look for less!

Step 1 -
The Hemnes Cabinet from Ikea had the look and storage solutions I needed for my space. They have some cabinet options without drawers, but I ultimately decided on this style because I loved that I could hide things I didn’t want to be seen, but still had open cabinets for me to style and give that contrast look I liked. The Black/Brown color is definitely more black than the description, which already made it less work to get to the final result since I didn’t have to paint the entire cabinet.
Step 2 -
Assemble your cabinet before you paint (but remove the doors)! This makes it SO much easier to see what areas you actually need to cover and keeps you from doing more work than you need to or finding out you didn’t paint enough. Trust me, I learned the hard way!
Step 3 -
Make sure you get white AND black paint in a satin finish as you get started. You’ll use the white for the interior of the cabinet to create that contrast look. You won’t need much of the black paint since you’re only covering the top wood piece.
Step 4 -
Change out the hardware with a polished brass knob to make it feel more custom and high end! I used these knobs in a size 4.


